Harley Benton Bass Guitar Kit P-Style

458

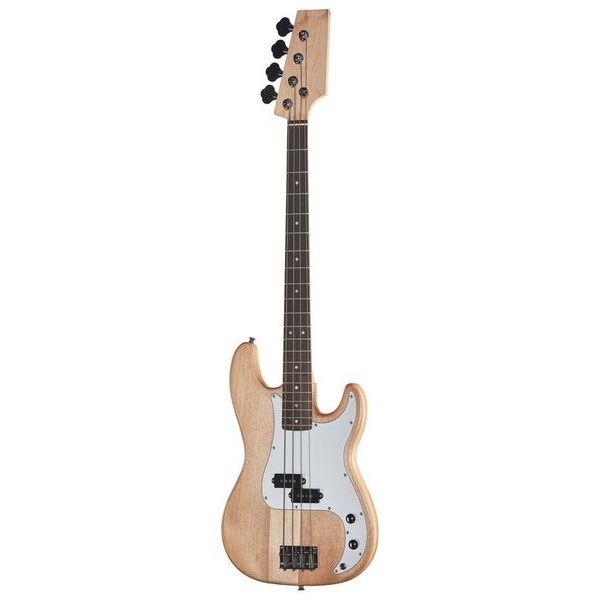
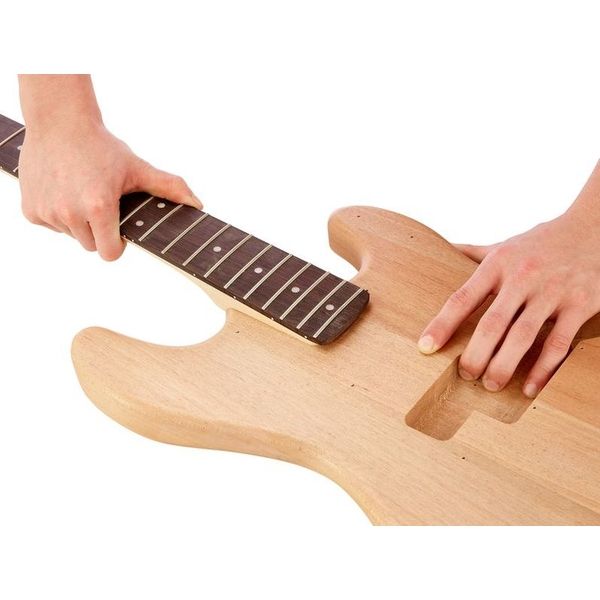
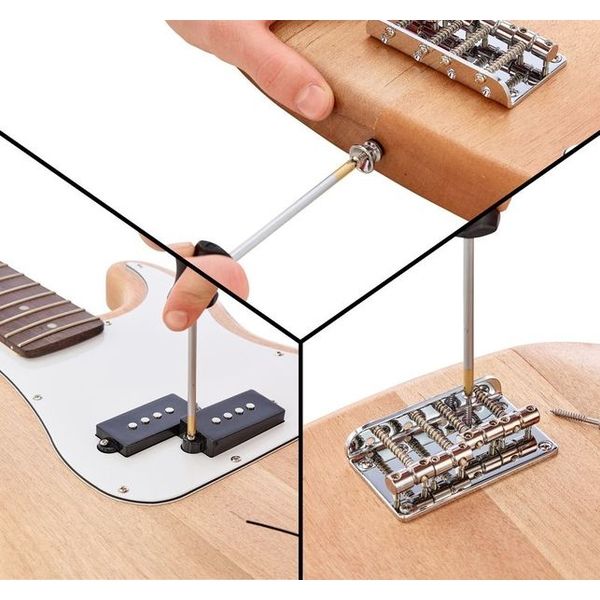
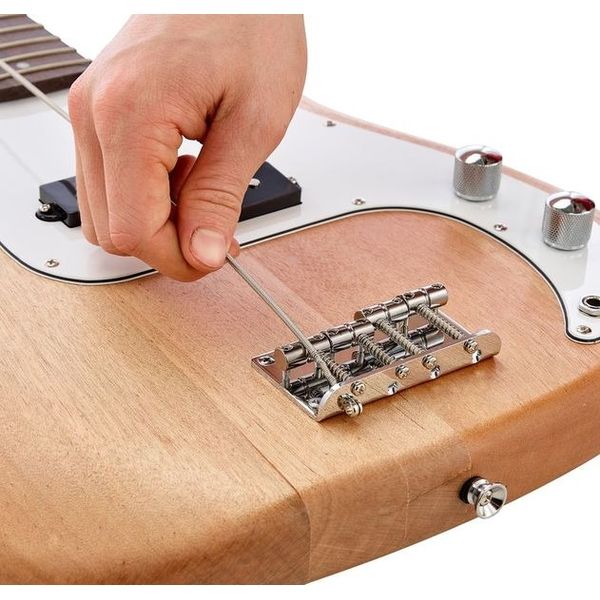
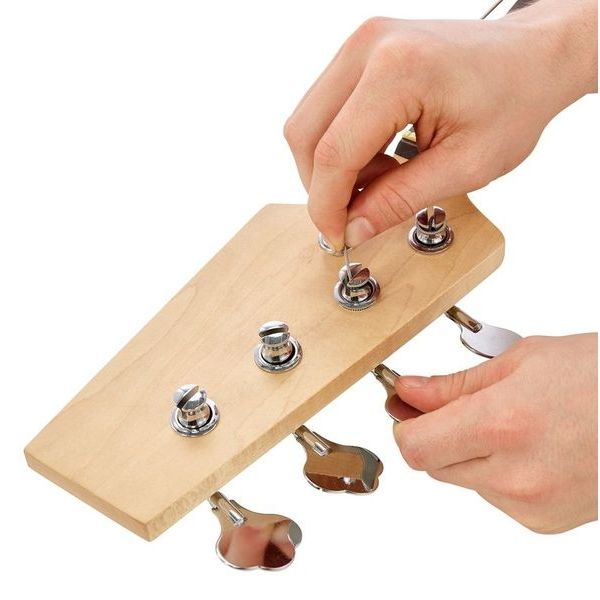
Electric Bass Kit P-Style

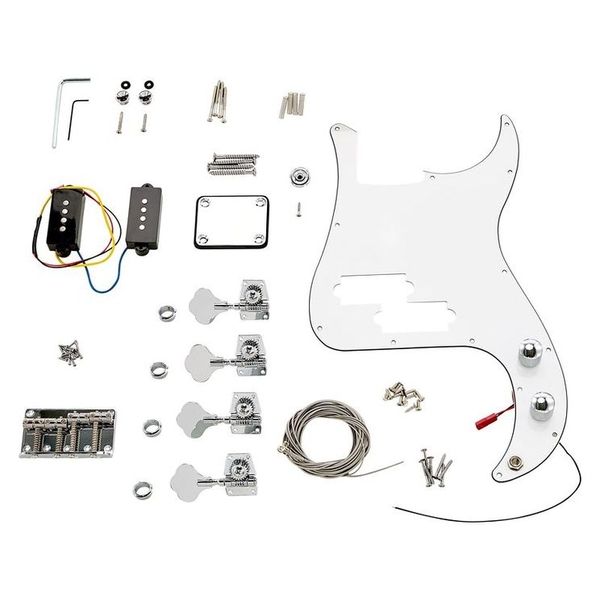
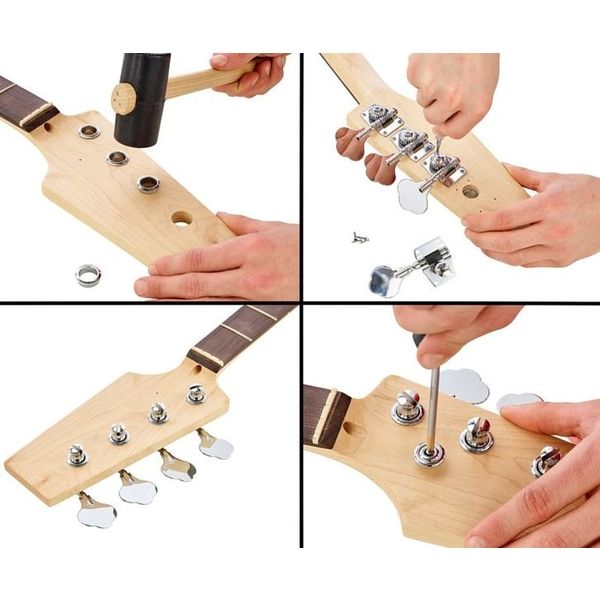
  • Complete DIY (do it yourself) kit
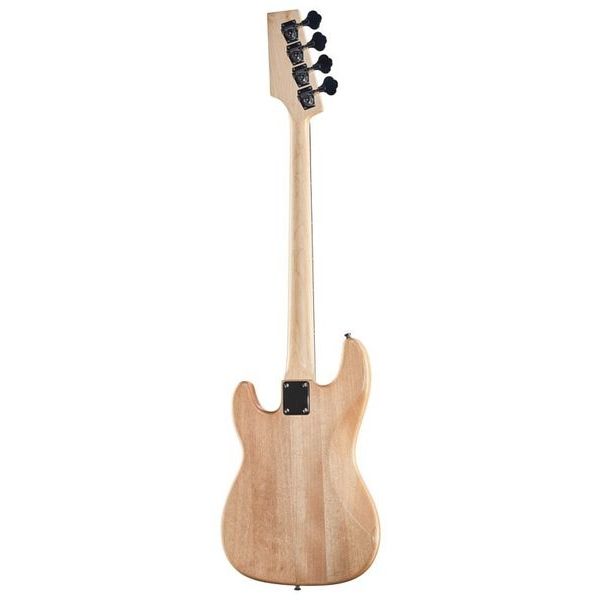
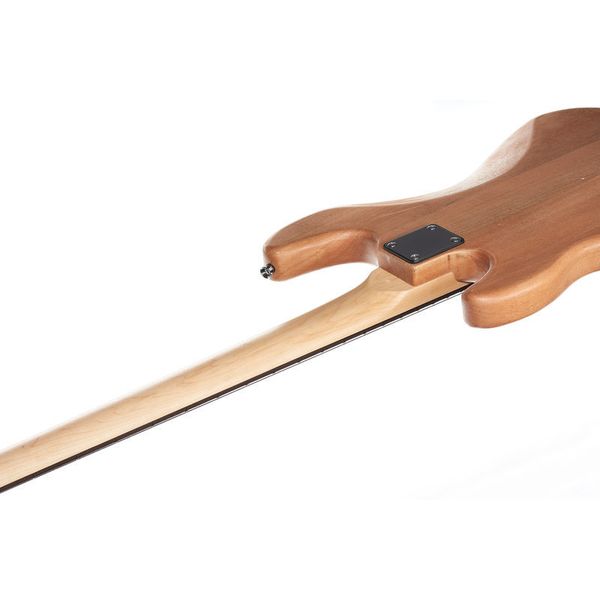
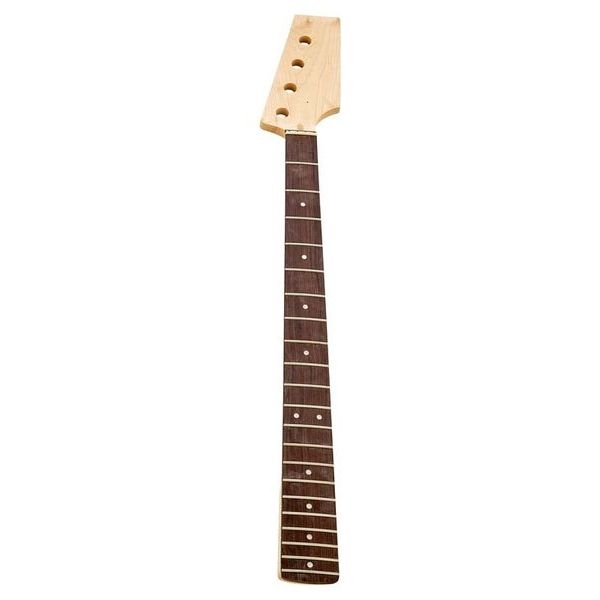
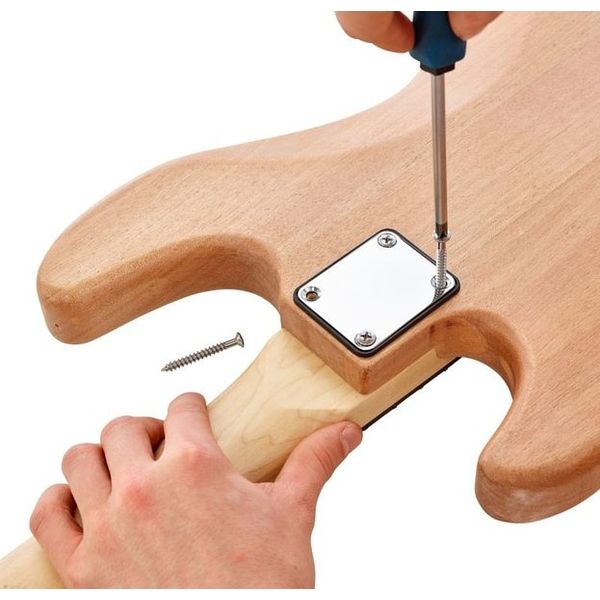
  • Bolt-on maple neck
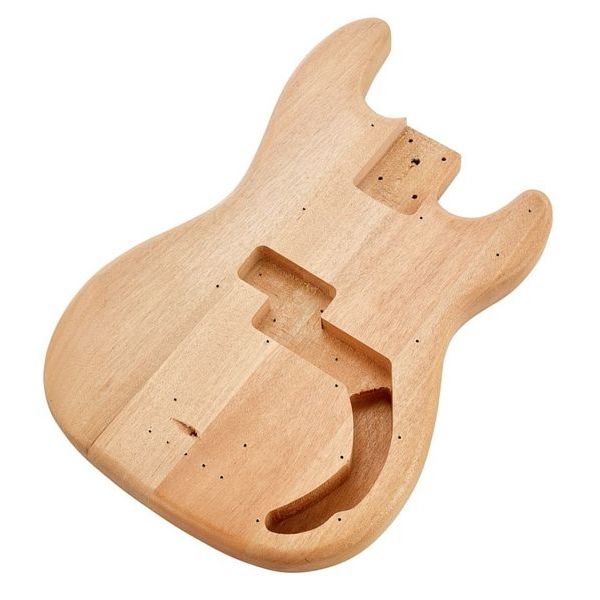
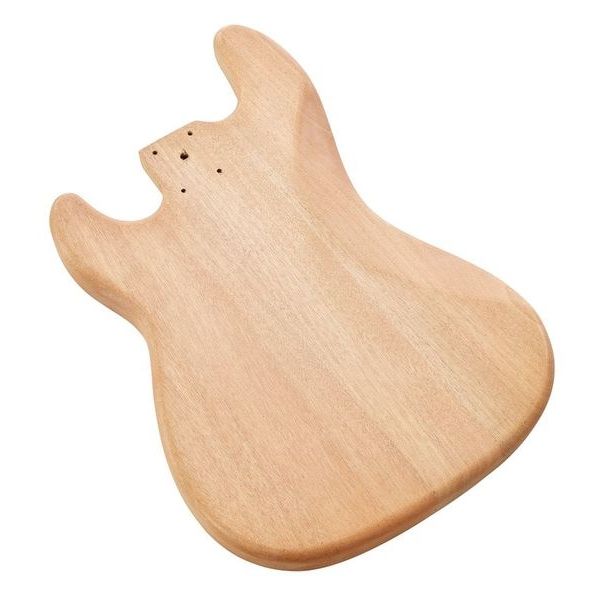
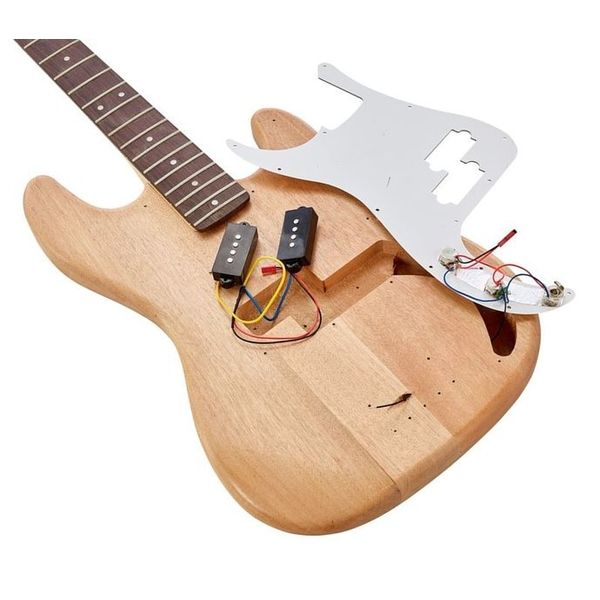
  • Rengas body (wood colour may vary)
  • Double action truss rod
  • Amaranth fretboard
  • Dots fretboard inlays
  • 21 Frets
  • Scale: 864 mm
  • Nut width: 42 mm
  • Truss rod
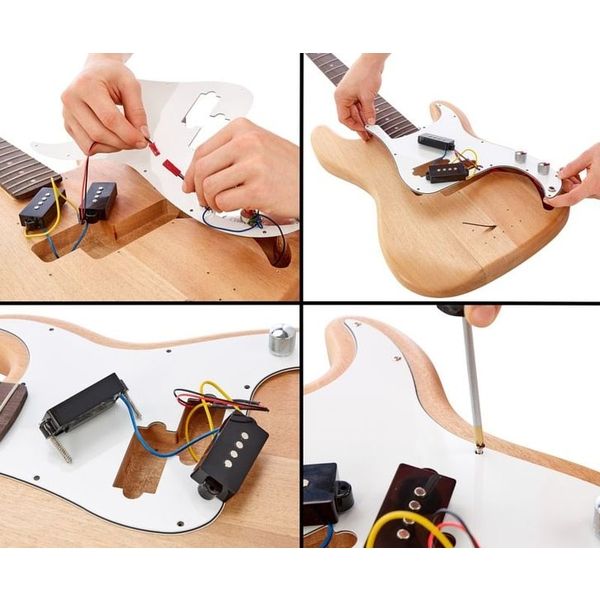
  • 1 P-Style split coil pickup
  • 1 Volume control and 1 tone control
  • Chrome hardware
  • Die-cast machine heads
  • Strings: .045 - .105
  • Colour: Natural

Note: Body and neck have been primed with pore filler, and are therefore suitable for direct painting - for staining or other forms of surface treatment, the primer may need to be sanded again

Note: A certain degree of craftsmanship is required for successful assembly.

Available since June 2006
Item number 194896
Sales Unit 1 piece(s)
Colour Natural
Soundboard Solid Wood
Neck Canadian Maple
Fretboard Amaranth
Frets 21
Scale Long Scale
Pickup System P
Elektronic Passive
Incl. Case No
Incl. Gigbag No
Pickups P
$89
The shipping costs are calculated on the checkout page.
In stock
In stock

This product is in stock and can be shipped immediately.

Standard Delivery Times
1

458 Customer ratings

4.2 / 5

You have to be logged in to rate products.

Note: To prevent ratings from being based on hearsay, smattering or surreptitious advertising we only allow ratings from real users on our website, who have bought the equipment from us.

After logging in you will also find all items you can rate under rate products in the customer centre.

features

sound

quality

328 Reviews

m
Nice kit to start with
manofstrat 29.06.2021
I bought this kit as a challenge for myself as well as to enter Thomann's diy kit challenge. My plan was to shape the headstock, paint the body and neck. Using no power tools.
I can say that the kit has close to decent quality - with a lot of room to improve. With the provided mechanics, it is a neck diver for sure. Body was 4-piece and neck's single piece. Lots of small holes and dents on the body due to the selected wood. (I wish I could upload photos here) Sealer wasn't applied well. Sanding wasn't even either. So I sanded the whole body to P320 grid. Before starting the paint job with nitrocellulose spray cans.
Neck sealer was a lot better comparing to the body. I am still not sure if the fingerboard is an actual wood or a composite material. But it is dense, dark and has a nice silky feeling to it. Like Ebony... With TV Yellow, it made a nice contrast. It is like an F-brand bass painted in G-style. haha Frets were surprisingly well installed! Kudos! Almost no sharp edges (no more than a short filing/sanding can get rid of). I only needed to polish them to improve playing and look.
Tuning machines are decent, but very heavy. My long term plan is to drill 3-6mm holes to the pegs to provide some weight relief to fight with the neck diving.
No soldering is a plus for peeps are not used to that. No noise or other electro-mechanical issue with the electronics.
Bridge is decent but lightweight. I will change it with a Fender HighMass bridge as I did with my Squier J-Bass.

In short, It was very easy to build, instructions weren't needed. For anyone who is confident with their hand skills and arm muscles, can do the job and enjoy the process, in my honest opinion. (Though, I am an electrical engineer with decent hand skills and my own guitar tech for over 10 years. ) At this price point - though it could be a lot better), It would be great start if you want to understand basics of guitar/bass mechanics, start building your own instrument or just want to make a gift for yourself or a friend/kid.
features
sound
quality
8
3
Report

Report

G
Perfect beginners bass
Gerhardbassplayer 05.05.2020
As soon as I received my P-Bass kit I began to re-shape the neck top. I used a jig saw and after grinding it, it looked cool already. At first I assembled the complete guitar, so that I was able to make alterations if needed. And it was needed. Many pre drilled holes did not correspond. I didn't see this as a problem as I dare to say that I am rather handy working with wood. Especially the holes at the neck, where the tuning knobs are to be placed, didn't all match. So I used cocktail sticks with wood glue. After drying, I grinded it with the machine using graduation 400. This went smoothly and I drilled new holes of 2mm. As the tuning knobs would cover the old holes there was no further problem. Than I had to drill another hole when mounting the pick ups. I found that the black earth lead was too short, so I connected a longer lead with the initial one. It is a personal choice to spray the body or to use oil or varnish. In both cases it needs a very good grinding starting with 240 than 400 and 600. I decided to spray the body glossy black. I started to spray 3 layers of primer (Motip 1 spray can) and when it was dry I grinded it again with 600. Than I was able to spray the body black. I used a (1) Motip spray can. I am not a regular sprayer, so I would advice to take your time and using a flat piece of carton on the ground and make sure the body is placed on 2 or three little objects (like egg cups). This makes spraying easier when starting with the side of the body. When the front was done, (it dries quite quickly) after an hour I could turn the body to do the rear side. Don't spray to fat! Better is to spray several times smoothly. If you would get a drip no problem; DON'T try to wipe it away or using a paint brush - just let it dry and with 600 sandpaper grind it away and spray that part again. After three times spraying the body looked fine to me. Although it might be so that not every part is as glossy as other part of the body. Don't be let down! After drying for three or more days you use some car polish and smoothly rub this in. It will be shining all over. Now it is time to assemble the bass. Make sure not to damage the body when using screws etc. This is why I advice to assemble the guitar at first, so screws go easier.... After tuning the bass I am very pleased with it and it is great fun making your own P-bass. Of course keep in mind that a guitar of this price should not be compared with a real Fender P-Bass. But it sure is a good instrument and also the sound is okay!
features
sound
quality
5
0
Report

Report

SM
Excellent value for money with only minor niggles
Stub Mandrel 18.07.2020
Neck is pretty decent, the fretboard is effectively black, like ebony with more grain, does not look like rosewood at all. I think it looks really distinctive. Benefits from oiling. I didn't lacquer the back of the neck, it comes with a satin/matt finish that is very nice.

Would build confidence if they had a guide to which screw goes where, especially as there are enough scratchplate and tuning head screws that you could swap them over. For those unsure:

The larger headed countersunk screws are for the scratchplate.

The four very long screws are for the pickups, beware of screwing them right down as they could pop out the back of the body... put them in a few turns and adjust when the strings are on.
The same screws for the bridge and strap buttons. Personally I think they are a bit short for strap buttons.
String guide uses a scratchplate screw; I reckon if you used a spare bridge screw it could come out the back of the headstock.

The tuning head screw drillings weren't very well positioned. I had to take great care tightening the screws and the heads are all at a very slight angle.

Body wood isn't super hard, but much better than the eBay strat body blank I bought a year ago. If I was redoing the build I would put on a light layer of primer then sand down until it was just left in any depressions, then skim the body with fine filler then sand with fine wet and dry.

Videos that show people putting on 3 very thin layers of lacquer are over optimistic. Do more than that. Yes it is worth waiting a week to finally sand and polish, but give yourself enough paint thickness to work at with confidence. Sanding needs to be really light t-cut will take out light marks so you don't need to sand aggressively.

Double acting truss rod needed to be tightend up, probably by 2-3 turns so not a huge amount. I expect it to need revisiting a few times as the bass settles down.

Setting up meant adjusting everything, including the nut (except the A-string intonation was spot on...) Nut was cut very high, this does need care and courage as it's the one adjustment that isn't reversible.

Pickup screw holes weren't ideally positioned, tilting the two halves forward. When I reassemble I'll move them so they are level.

Controls work fine, no buzzes. When I reassemble I will strip a longer section of the bridge earth wire to make the contact more definite, am worried it could slip out but don't want to strip it yet to make threading it back through easier. Would be nice if it was about an inch longer too...

Tuning heads very stiff until oiled with a drop of 3 in 1, get better with use. Not the best ever but I don't think they need replacing.

A neck wedge may be a good idea as the E-saddle is almost at the bottom and I reckon I could drop it buy up to half a mm or more.

Some of the scratchplate screwholes were way off, one or two not even visible. I put all the good ones in first, then fitted the other screws direct into the wood without a hole.

I fitted Fender flatwounds because I can't find the supplied strings - I'm not convinced they were in the box, but as I opened it a couple fo weeks ago...

The sound is nice, rich and rounded, perhaps not as much growl as a Fender Precision.
features
sound
quality
4
0
Report

Report

A
Perfect for a first build
Anonymous 21.04.2015
I decided to purchase this kit because it was reasonably priced and I wasn´t sure I could get a good result for I haven´t done anything compared to this before. So to say - not a big loss if I screwed it up and decided to burn it afterwards.

Looked for reviews on it on the net and found satisfied builders. Took on the challenge and this is my review:

The neck: it was straight as an arrow, no nicks anywhere but the frets needed leveling quite a bit. I bought the Thomann fret file, Göldo fretboard guard and ordered a few Euro´s fret rocker from the net. Did my first fret job ever, took a couple of hours and voila - nice result. Fits the neck pocket very well.

The body: in very good condition and smooth surface. took some splinters away with sanding paper from the grinded parts (neck pocket and pickup/pot holes). Other than that it was ready for paintjob.

Painted the body with acrylic sanding primer, painted with acrylic paint and put some acrylic laquer on the surface - all in garage and with spraypaint. Also put acrylic laquer on the neck. Sanded between different paints and polished.

Pickguard: two plastic covers on the surface and no scratches on it. It would have been aligned well on the screwholes of the body, but the jack was about a 1mm too close to the end of the pothole. A very tight fit and could damage the jack on the long run. These don´t cost much though - so... Had to file a tiny bit of plastic away from the neck end of it to fit well (took about 5 seconds).

The pickups: easy to install ( no soldering needed) and work fine. Surprisingly good tone for cheap pickups.

Pots: they are a bit too "loose" and turn a bit too easily. They work though.

Strings: the set that came along was poorly wound and I decided not to use those. Bought the HB valuestrings and they work well.

Tuning pegs: Look nice, a small loose "gap" when turning to both ways. But they hold the tuning nicely. Easy to install on the neck.

Putting it together after painting: everything went to place ok. Putting all together with tuning the strings and adjusting the trussrod took about 4 hours.

Now I´m using it to play in our band and it performs very well. I´m already looking for a new project and would like to find a Musicman-style kit ( Thomann??) Thank you.
features
sound
quality
15
0
Report

Report