


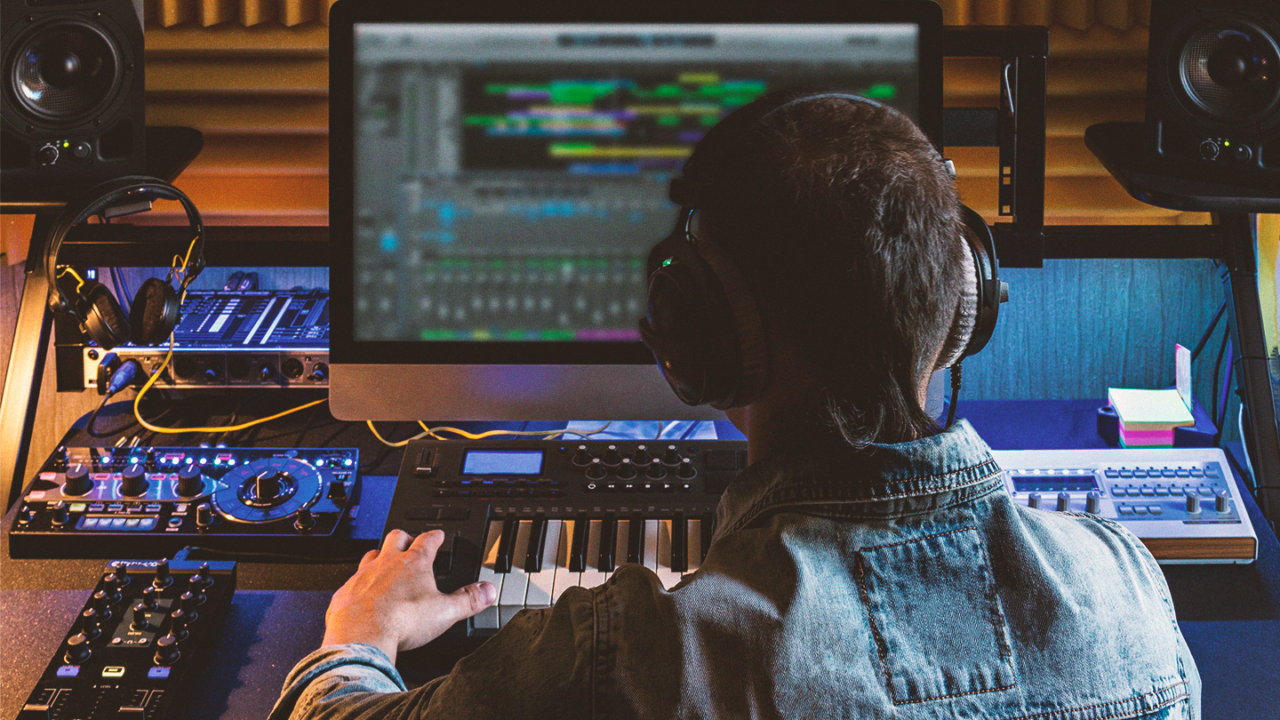

You don’t need a big budget to get a better-sounding studio – you just need smarter upgrades. From taming reflections in your room to tightening up your recording chain, small, targeted changes can often make a big difference. In this article, we’ll walk through some key practical upgrades that can deliver the biggest improvements and potentially transform how your home studio sounds and feels to work in.
Treat Your Room First
Here’s a thought experiment: imagine spending hours dialling in the perfect mix only to discover that your room was lying to you the whole time. If you can’t hear your music accurately, every recording and mixing decision you make is based on misleading information; so if you only make one upgrade to your home studio, make sure it’s your room!
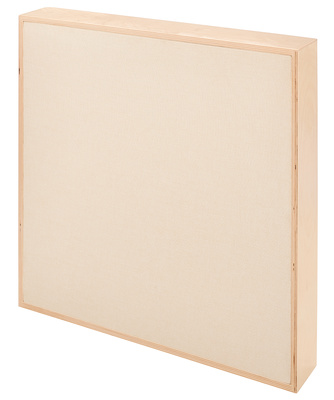
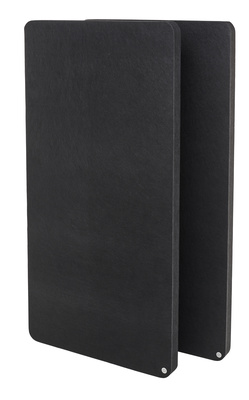
Most home studios are one-room setups that need to balance accurate monitoring with a good-sounding tracking environment, and if you’re working in a fairly small space that usually means you’ll need to keep the room fairly dry-sounding, which is where mirror point absorbers become an absolute must.
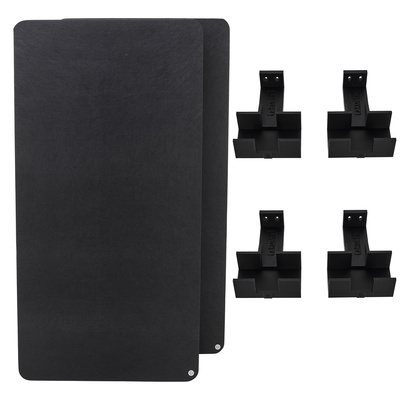
Thankfully, finding your mirror points is easier than it sounds. Sit in your listening position while a colleague slides a small mirror flat along the side walls at ear height, and wherever you can see a studio monitor reflected in the mirror, mark the spot with masking tape. These are your mirror points, and where you should place absorbers to eliminate any reflections and noticeably produce a clearer stereo image.
Note that not all absorbers are created equal – dense fibreglass or Rockwool absorb sound much better than cheap foam and are well worth the investment. Look for standard 2 x 4-foot panels that match your room’s decor, and ensure they include mounting clips so you can easily hang them over your marked spots like picture frames.
Upgrade Your Monitoring
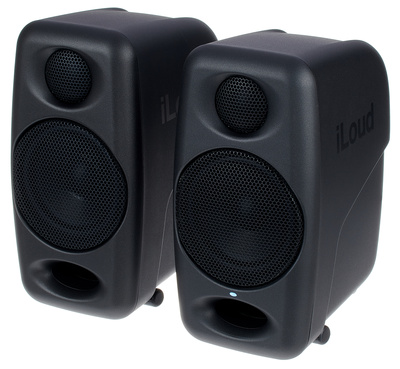
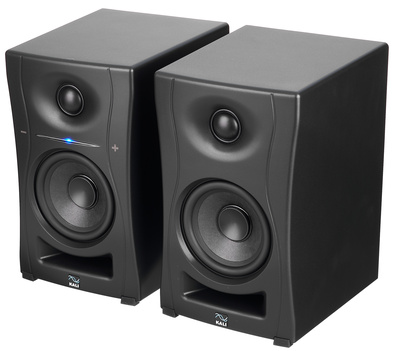
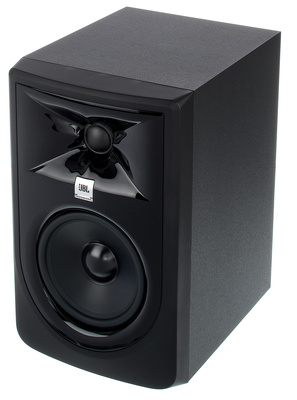
The world of studio monitoring is continually changing, so if you haven’t been keeping up with the pace of development, you might be missing out. Even if you’re used to working on headphones, the addition of a small pair of active monitors has the potential to give you a new perspective, for several key reasons.
It’s a fundamental truth in audio that headphones and studio monitors present sound to your brain in entirely different ways. For example, when you wear headphones, the left ear only hears the left channel, and the right ear only hears the right channel. This creates an artificial, super-wide stereo image inside your head.
However, with active monitors, sound travels through the air and hits both of your ears, replicating how we naturally hear the world around us, which is why a mix that sounds perfectly balanced on headphones can suddenly feel lopsided or thin the moment you switch to speakers.
And there’s another good reason for upgrading your monitoring. The ultimate goal of any audio project is to make sure it sounds good everywhere, but when mixing exclusively on headphones, your track might sound great to you, yet fall apart on someone else’s speakers.
Switching back and forth between headphones and monitors will instantly expose flaws in your mix, forcing you to find a middle ground that translates more reliably to the outside world, whether people are using smartphones, laptops, Bluetooth speakers or a standard car audio system.
Improve Your Recording Chain
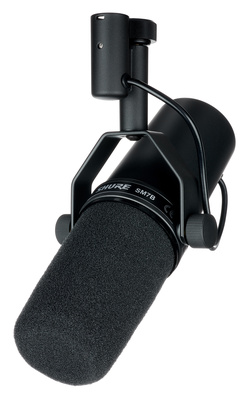
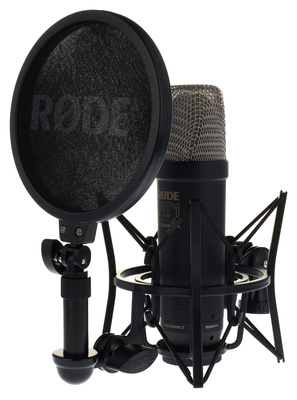
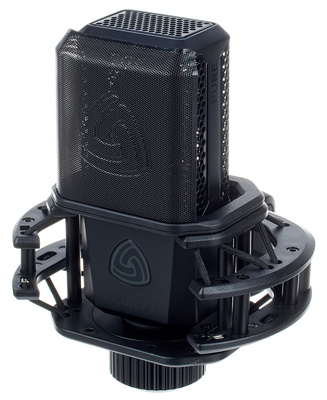
There’s a saying in music production – your final audio quality is only as good as its weakest link. Think of it this way: a great recording chain acts like a high-definition camera lens, capturing nuance that cheap gear flattens. And if a cheap microphone or noisy preamp distorts the signal or introduces hiss, that damage will be permanently baked into the audio file.
That’s why you should invest in a high-quality recording chain, particularly a premium audio interface or external preamp. By measurably lowering the noise floor, you’ll be able to apply more gain or compression to your audio without having to worry about magnifying any annoying or distracting gear hiss.
Premium microphones and preamps are also more likely to handle sudden volume spikes without clipping or distorting. Having this extra headroom will allow you to capture the emotional highs and lows of a powerful vocal or guitar performance with real confidence, and you’ll end up spending less time fixing errors, cleaning up background noise or using aggressive EQ to make a track sound natural.
Add Hardware That Inspires You
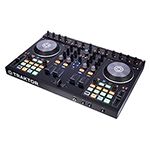
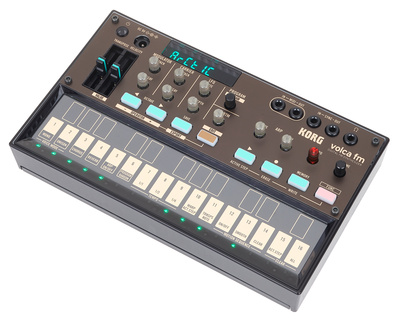
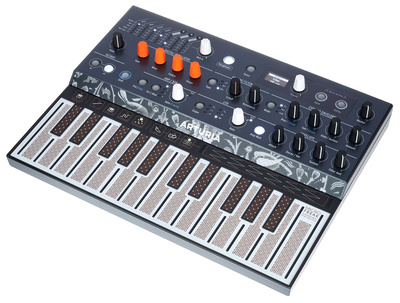
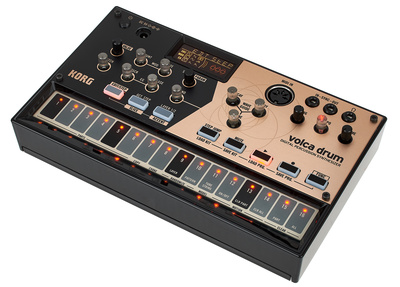
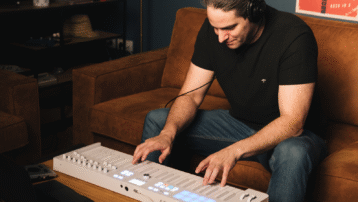
Every producer hits a creative rut sooner or later, but studio upgrades don’t always have to be about improving audio quality – sometimes the biggest improvement comes from changing the way you create. If you find yourself reaching for the same sounds and writing the same kinds of parts, adding a new piece of hardware can really help break familiar habits and inspire fresh ideas.
Whether you reach for a hardware synth, effects pedal, drum machine or even a different MIDI controller, working with unfamiliar equipment encourages experimentation and will often lead to unexpected results.
The good news is that you don’t need to fill your studio with expensive gear. It might sound counter-intuitive, but limiting yourself to a single new instrument, microphone or effects unit can force you to approach a track from a different angle, leading to the sort of happy accidents that rarely happen when you’re continually following the same routine.
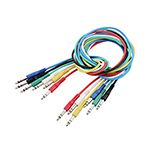
Replace Worn-Out Cables and Power Accessories
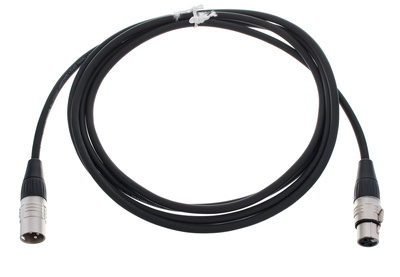
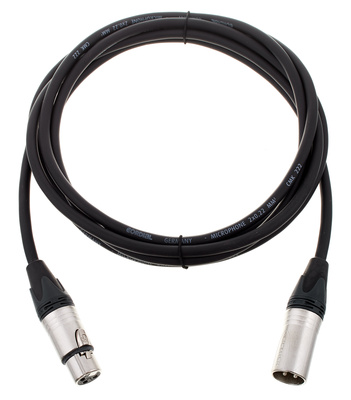
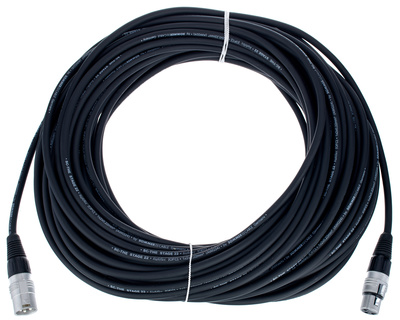
There’s nothing more annoying than plugging in your gear only to hear intermittent crackles and sudden level drops. When creativity hits, you want to capture it immediately rather than have to put your technician hat on to fix an audio issue. That’s why, rather than waiting for a cable to fail mid-session, it’s worth treating your cabling as an essential part of your studio setup.
First, implement the ‘One-for-One’ Spare Rule – a small storage box on your desk that contains a brand-new spare for every cable type you use. It’s also a good idea to swap any cables that have moulded plastic housings with tougher metal-bodied connectors that you can unscrew in seconds should they ever break.
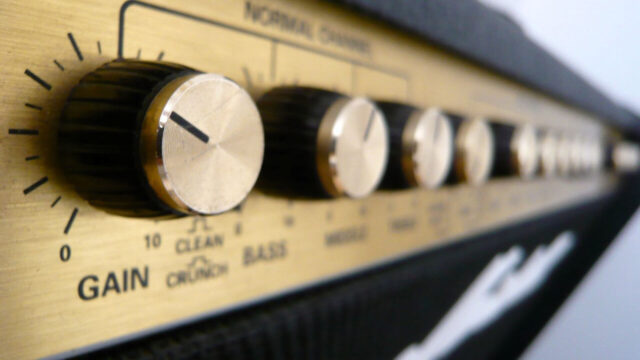
You may not realise it, but a lot of audio crackles aren’t actually broken wires; they’re caused by dust and oxidation inside your volume knobs or input jacks. Keeping a can of electronic contact cleaner in your studio and spraying a quick burst into a noisy jack or potentiometer often restores a clean connection or removes light oxidation from a socket.
Home Studio Upgrades: Over to You
From treating your room to tidying up your cables, these upgrades don’t need a big budget – just a bit of time and attention to detail. If you have any questions about tackling any of these issues in your own studio, drop us a comment below!












Comments 0
No comments yet.