


Great recordings don’t happen by accident. Before a producer presses Record, there are a series of simple steps that help create the best possible performance – from preparing the room to choosing the right microphone position and setting the correct recording levels. To get you on your way, study these 10 essential recording tips to help you capture the best possible take every time you enter the studio.
1. Reduce room reflections
One of the most important things to understand about recording is that a pristine vocal chain will not save a recording that’s been tracked in a reflective room. Sound waves from your voice bounce off hard surfaces and return to the microphone milliseconds after the direct signal, creating a hollow, boxy sound and unwanted frequencies that can ruin a mix.
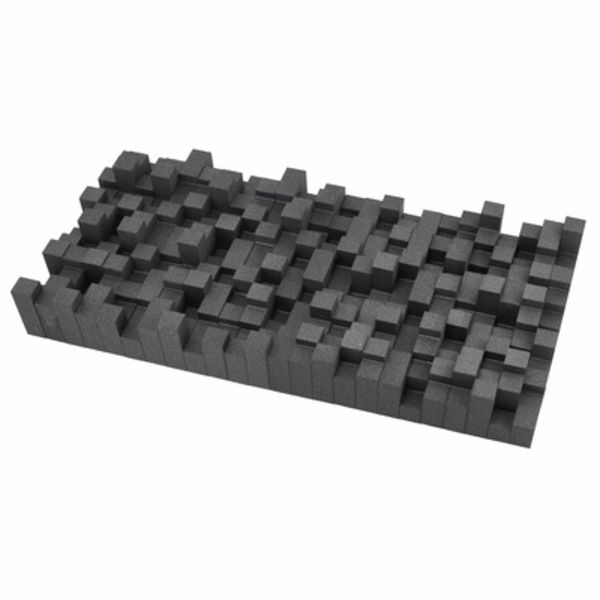
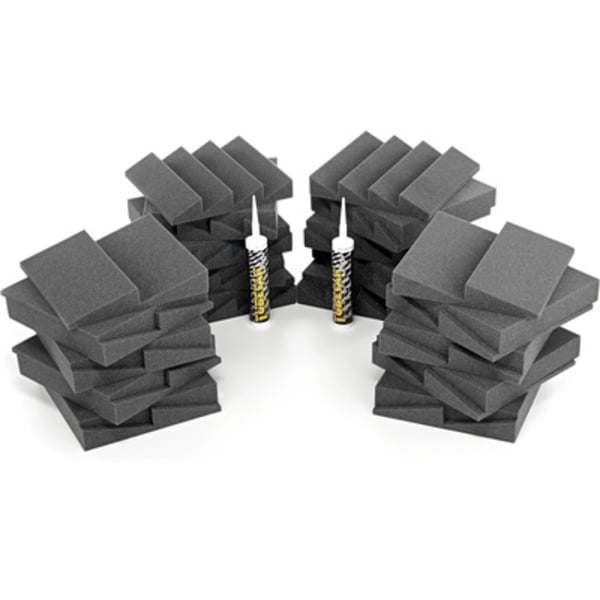
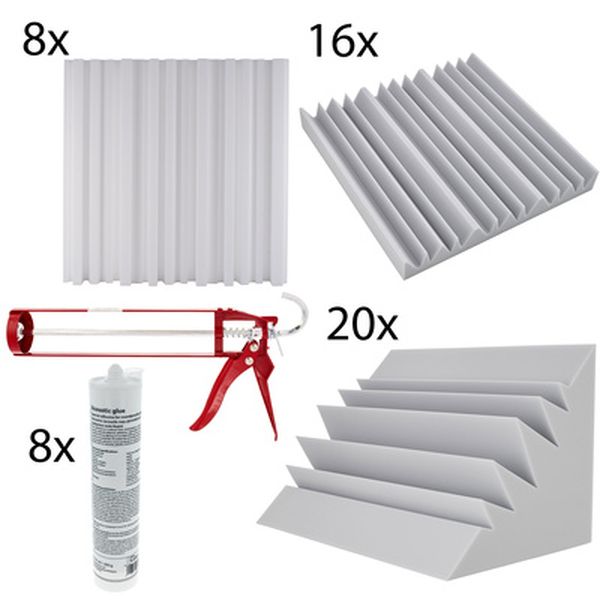
To avoid this issue, you’ll need to treat your room to absorb or scatter sound waves and reduce room reflections. Achieve this by placing acoustic foam or dense fiberglass insulation panels at the first reflection points on your walls, or if you’re working on a budget, hanging thick moving blankets or placing heavy rugs on a bare floor will naturally absorb those pesky sound waves.
2. Check your cables and connections
Ground loops are the classic studio gremlin. Plug your interface and monitors into different power circuits and you’ll often get a low 50 Hz or 60 Hz buzz that no amount of EQ fully removes, while a cheap, frayed cable or damaged shielding can just as easily wreck a take.
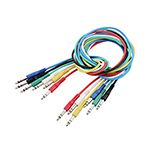
Before you hit record, run through the basics: check for loose jacks, keep power cables away from audio lines and make sure every plug is fully seated. It sounds obvious, but half the ‘mystery noise’ problems in home studios trace back to a $3 cable.
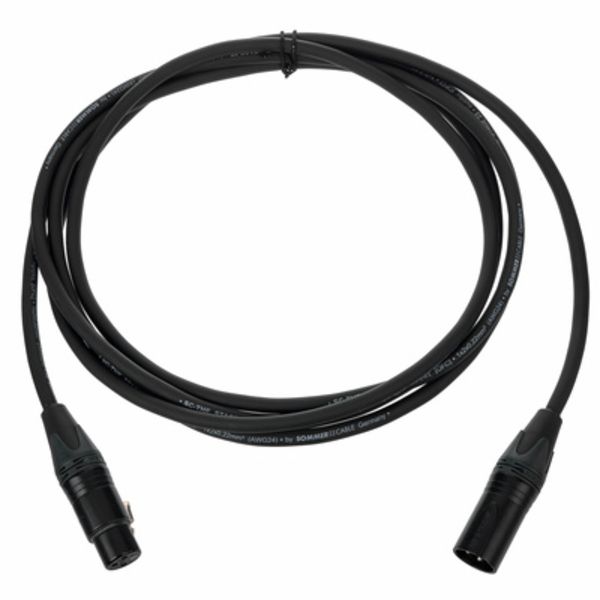
Sommer Cable
Stage 22 SG0Q 3m
3. Position your microphone carefully
The position of your microphone can have a huge impact on the sound you capture. Getting it right at the recording stage can therefore save hours of corrective work during mixing and give you a much stronger foundation for the final production.
This is especially important because of the ‘proximity effect’ – a natural characteristic of directional microphones where moving closer increases low-frequency bass. For instruments, small changes in placement can help you capture a more balanced sound, while for vocals, angling the microphone slightly away from the mouth can help reduce harsh sibilance and unwanted breathing noises.
4. Use a pop filter for vocals
In addition to sibilance, high-energy consonants like Ps and Bs release sudden blasts of air that hit the microphone diaphragm, creating powerful low-frequency thumps that can overload the microphone preamp and cause distortion or clipping that can be difficult to remove after recording.
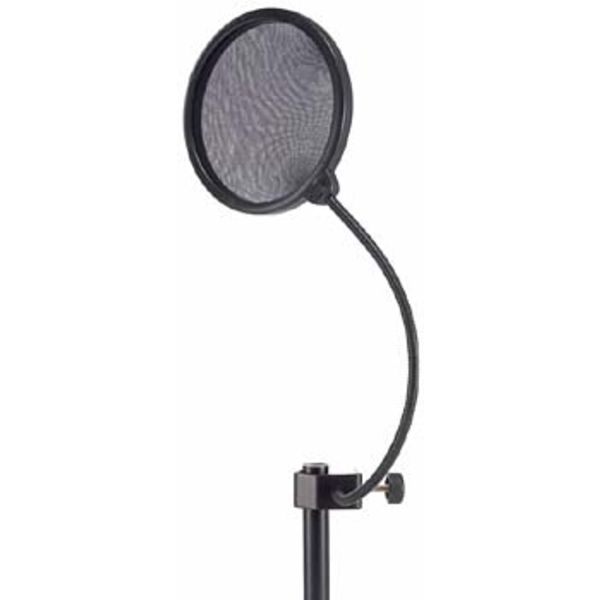
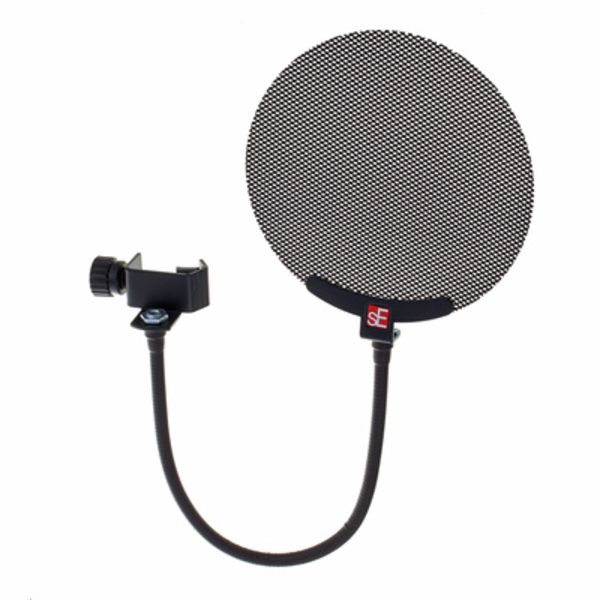
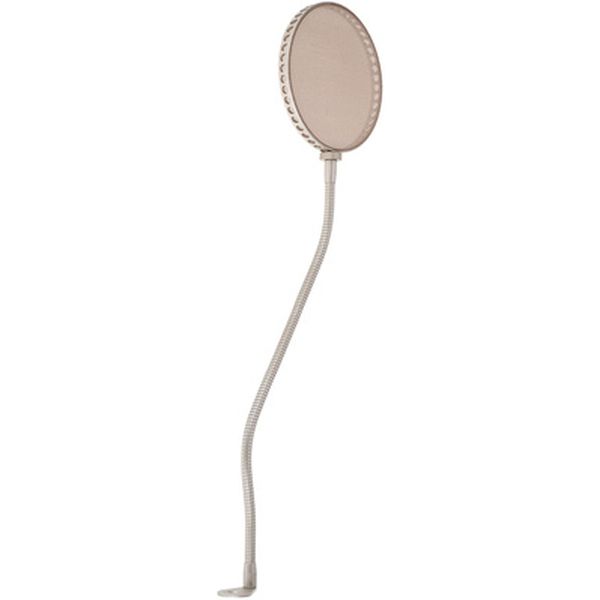
To prevent plosives from overloading your microphone capsule when tracking vocals, position a dual-layer nylon or metal pop filter two to six inches away from the microphone grille. This barrier disperses the air blasts while allowing vocal frequencies to pass through naturally.
5. Set your recording level correctly
Digital recording systems have strict limits on how much volume they can handle. If your input level is too low, you risk capturing unwanted background noise. If it’s too high, the recording can clip and create harsh distortion that’s difficult to fix later.
To set your input gain properly, turn the gain knob on your audio interface all the way down, sing or play at your loudest performance volume and slowly turn the knob up while monitoring the meters on your recording software. If you keep turning the knob up until your loudest peaks hit safely around -6 dBFS, you’ll ensure the signal stays green without pushing into the red clipping zone.
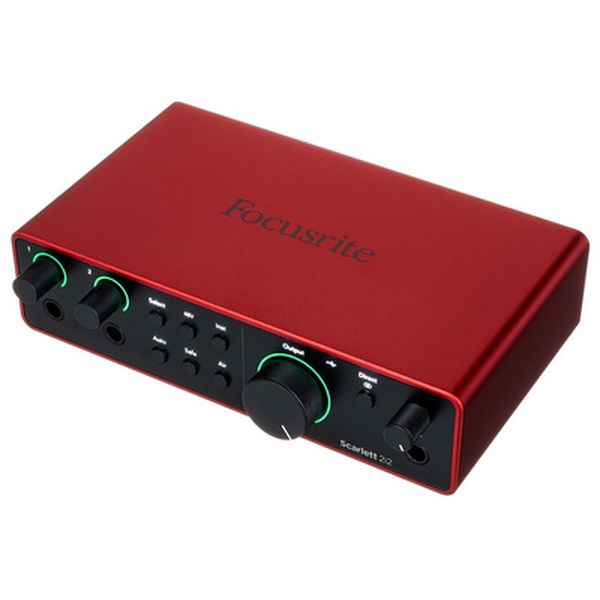
Focusrite
Scarlett 2i2 4th Generation
6. Monitor with low latency
During recording, it’s vital for musicians to be able to hear themselves in real-time without the distracting echoes caused by digital processing delays, otherwise known as ‘latency’. High buffer settings force a computer to process audio slowly, creating a delay in the performer’s headphones that can break their timing and make it harder to perform naturally.
To circumvent this, drop your DAW buffer size to 64 or 128 samples during tracking. Alternatively, most audio interfaces will have a direct zero-latency monitoring feature to route input audio straight to the headphones.
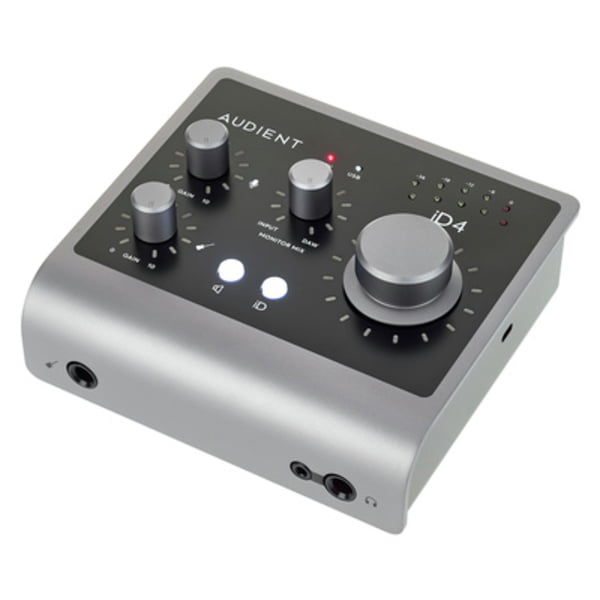
Audient
iD4 MKII
7. Record multiple takes
It’s rare for even the most talented of musicians to deliver a flawless performance at the first attempt. When you rely on single takes you risk missing subtle timing slips or tuning issues, which is why it’s vital to record multiple takes to provide an insurance policy against performance flaws and give you the raw material needed to build a perfect final track.
Aim for three to five complete runs, alongside extra recordings of specific, high-risk sections of a song, such as a belted vocal or complex guitar solo. Recording extra takes also provides material for vocal doubling (layering two performances together), which will add thickness and stereo width to your choruses.
8. Keep effects to a minimum
Effects can transform a raw recording into a polished, professional song by shaping its mood, energy and sonic space. However, you should avoid committing to destructive processing unless you’re certain of the artistic direction you want to take.
Printing heavy equalisation, compression or reverb directly onto a recorded track will lock those choices in permanently. Consequently, if a compressed vocal distorts or a reverb clashes with the final instrumentation, you’ll be unable to undo it. Unless you need to apply effects to perform comfortably, track your audio completely dry for maximum editing flexibility later.
9. Check your recording before moving on
A waveform can lie to you. It might look thick and healthy sitting comfortably within your meters, but it can still be hiding a mouth click, a distant siren or a stretch of digital jitter that only shows up when you actually listen.
To catch hidden flaws, listen closely to the recorded audio through headphones while your equipment is still set up. It’s tempting to eyeball a session and move on, but catching a flaw the next day could mean resetting your whole chain, or worse, calling a session player back in.
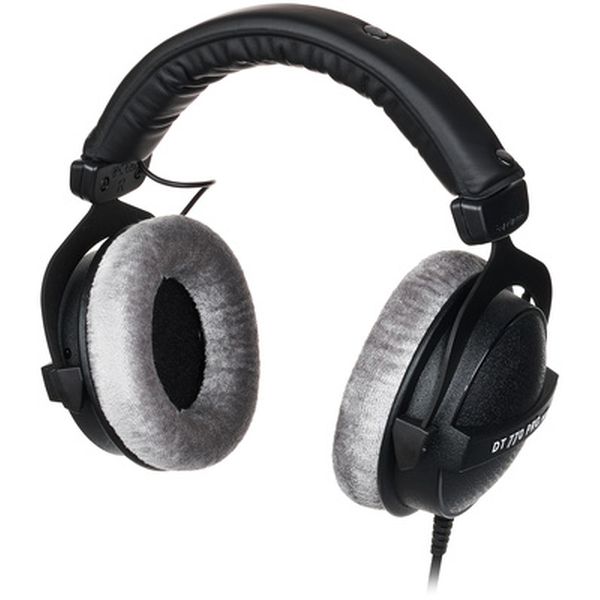
beyerdynamic
DT-770 Pro 80 Ohm
10. Compare your recording with a reference track
When you spend hours listening to a vocal take or instrumental performance, your brain normalises the acoustic flaws of that room, which can trick you into thinking a bad recording sounds good. It’s therefore always a good idea to compare your work with a reference track.
Importing a professionally mixed, commercial song gives you an honest benchmark for your source sound, and if your raw take sounds noticeably thin, boxy or harsh by comparison, it’s often worth revisiting your mic choice, placement or room treatment before moving on.
Essential Recording Techniques: Now it’s your turn
Try these essential recording techniques to capture professional-sounding recordings at home. If you have any questions about tweaking your setup or getting that perfect take, drop us a comment below. Cheers!





Comments 0
No comments yet.